

CI/CD with Angular & Jenkins
Jenkins Pipelines for angular with git lab hosted over VPS


This guide presupposes the presence of an operational Jenkins instance on your Linux server, complete with a valid domain (not localhost). Additionally, it assumes that you have both GitLab and NodeJS plugins installed. Familiarity with the Angular framework is also presumed.
To set up Jenkins, ensure the installation of the GitLab and NodeJS plugins. This article simplifies the automation process by utilizing basic shell commands for running tests and deploying applications to production.
Configuring Gitlab and Jenkins
Jenkins: Access Rights to GitLab
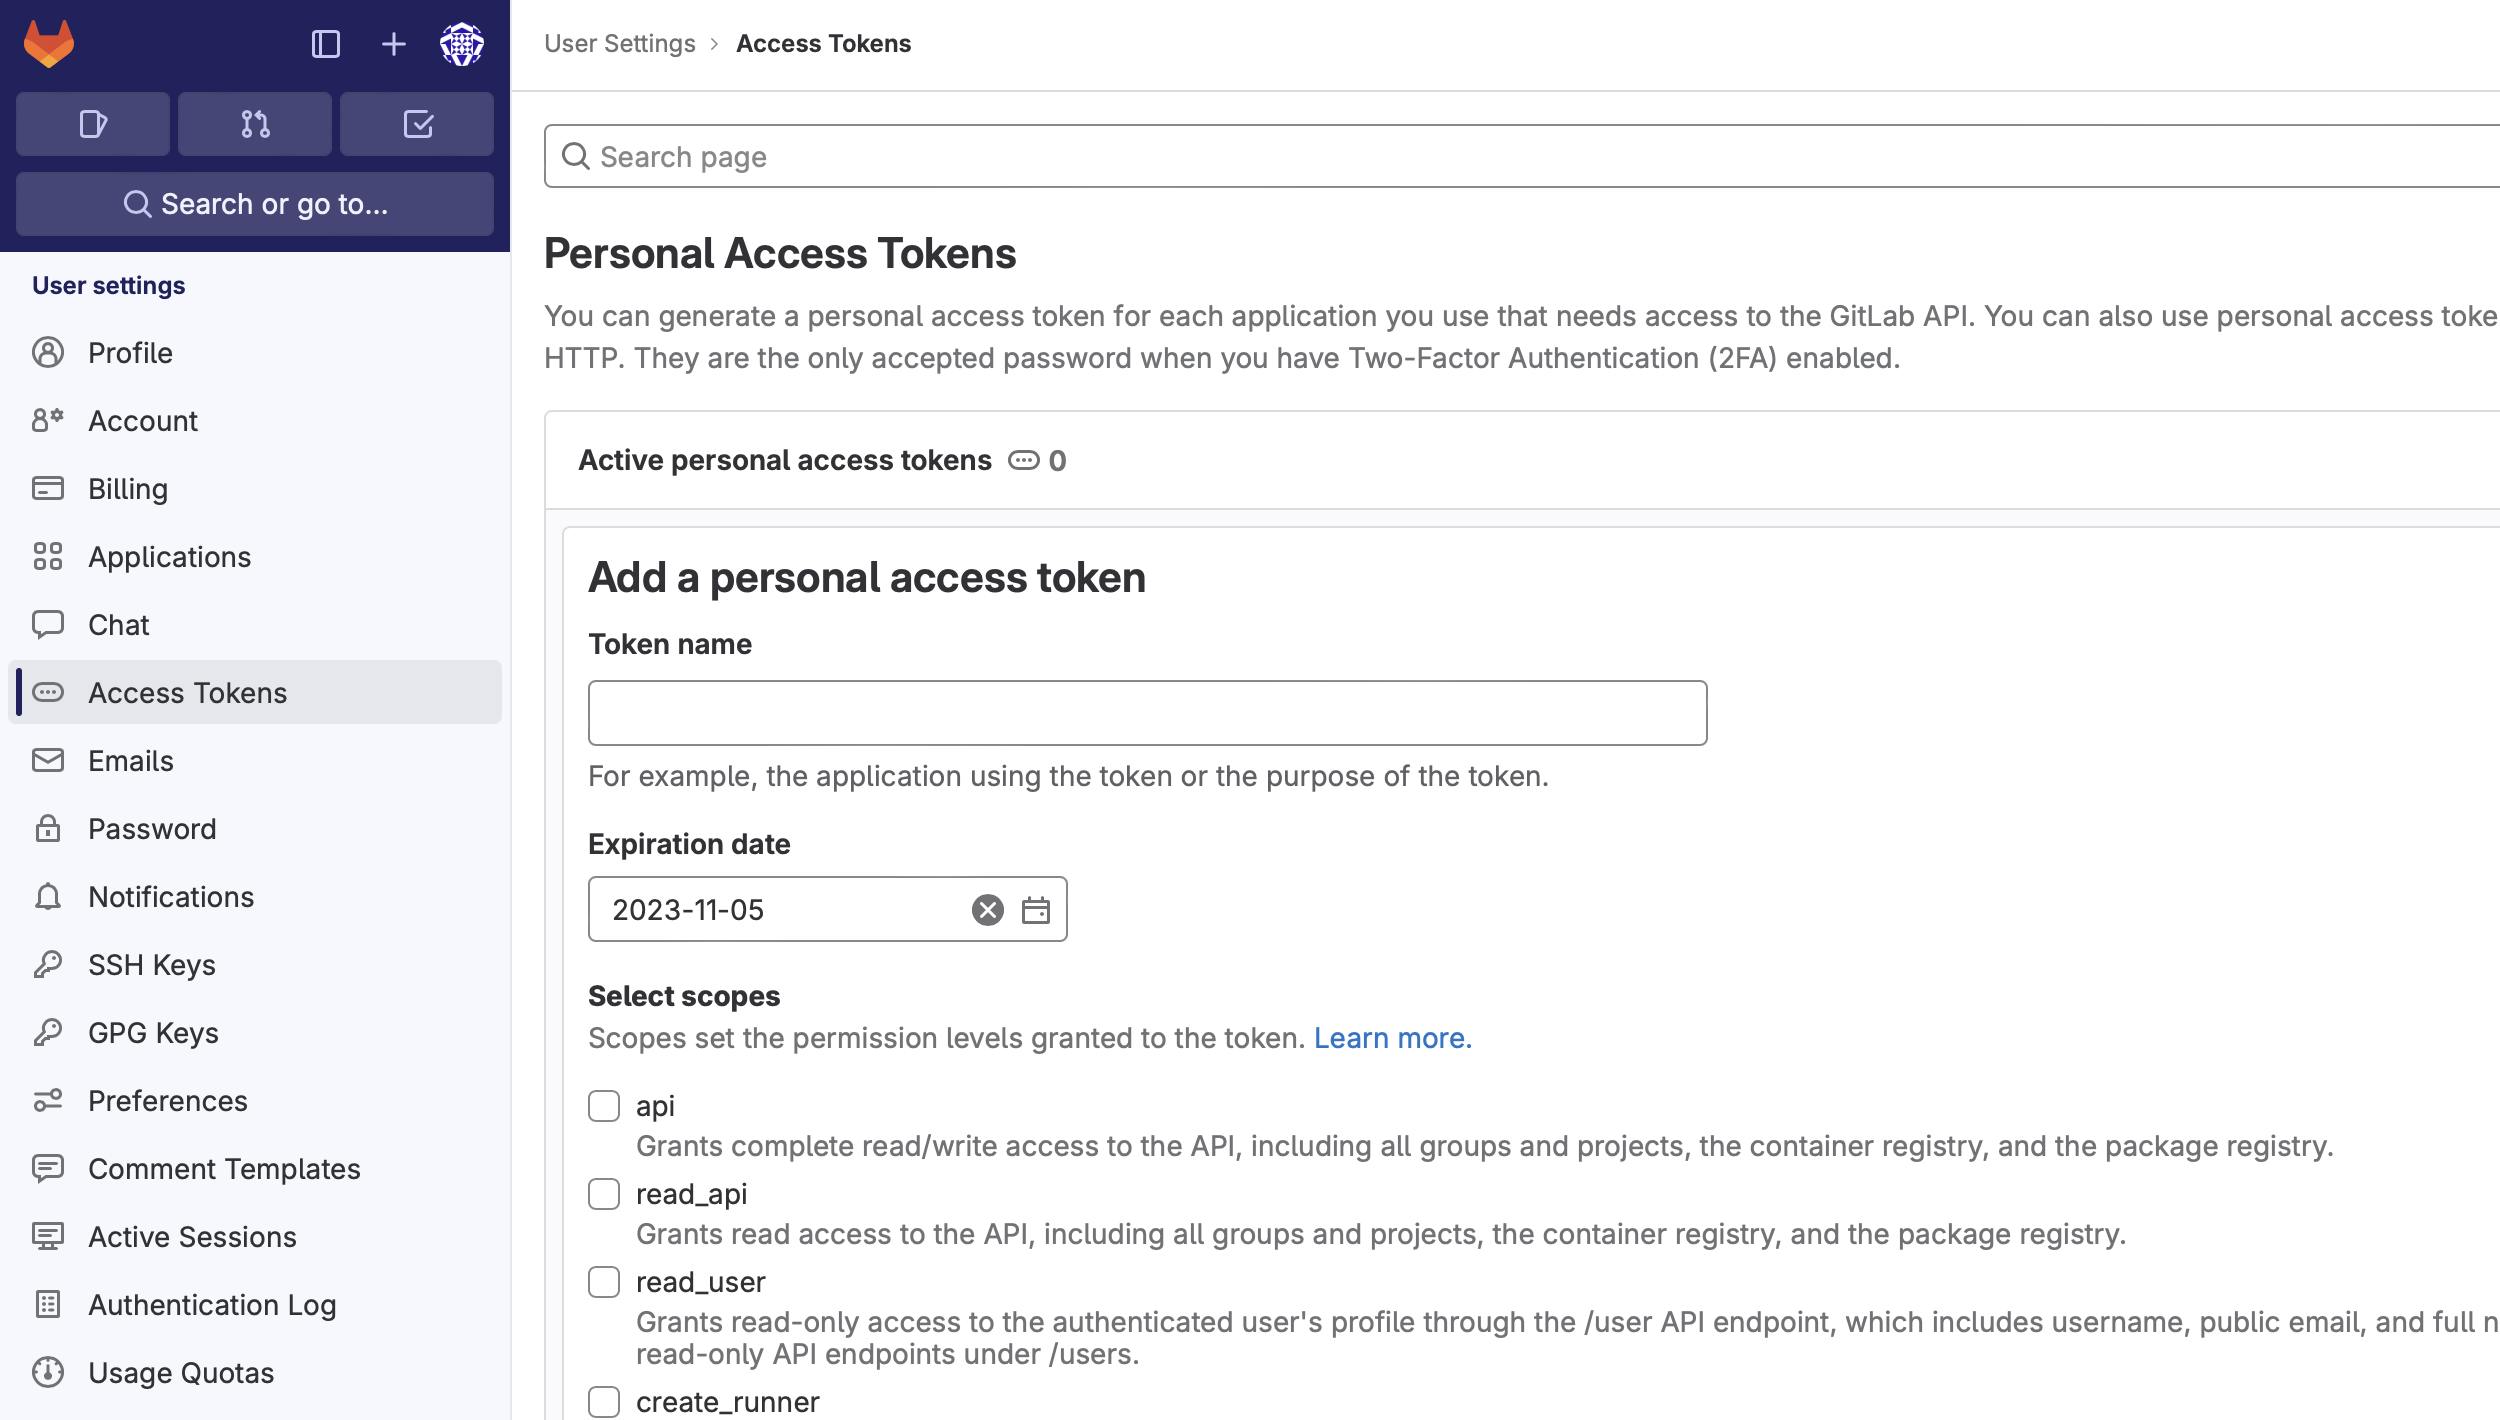
To integrate GitLab with Jenkins, it's necessary to create an access token in GitLab. This can be achieved by User menu > Settings > Access tokens
To set up the connection between Jenkins and GitLab, configure GitLab in Jenkins by adding the recently generated token. In Jenkins, navigate to Manage Jenkins > Configure system. Find the GitLab section in the configuration settings.

To include a previously generated token, click on "Add" in the Credentials input and select Jenkins. Within the credentials dialogue box, opt for GitLab API token from the Kind input, and paste the token obtained from GitLab into the API token input field.

Jenkins: Configure NodeJSInstaller
To enable the execution of npm scripts, it's essential to set up NodeJSInstaller. Navigate to Manage Jenkins > Global Tool Configuration > NodeJS installations.

Jenkins: Create CI build for Angular
To facilitate the execution of Angular tests and code style checks in Jenkins for the created merge request in GitLab, follow these steps:
Select the New item link on the Jenkins dashboard.
Provide a name for the job and opt for a Freestyle project.

Select the GitLab Connection recently established from the GitLab Connection segment.

Choose Git as your source code management. Enter your repository URL. Create new credentials on Jenkins. These credentials are for cloning the project. You use them to log in to Gitlab.

Subsequently, set up build triggers to specify the GitLab event that should initiate a build. In this specific instance, the angular-ci-build will be activated upon the creation of a new merge request.

In this step, return to GitLab and establish a hook that will initiate this build by navigating to Settings > Integrations. Copy the URL supplied by Jenkins, insert it into the project hook form, and conclude by clicking on "Add webhook."

Specify the configured NodeJsInstaller in the global settings to enable the execution of npm commands.

Lastly, within the Build section, opt for "Add build step" and then select "Execute shell." Craft shell scripts to assess the code of the Angular app and execute tests.

Click Save, and the setup should be complete. At this stage, everything should function as intended.
Upon initiating a new merge request, GitLab is expected to activate angular-ci-build on Jenkins, and on the respective merge request page, you should observe a pending status.
Once Jenkins completes its process, the status on GitLab will be automatically updated. The color of the merge button will vary based on whether the build was successful or not.
Jenkins: Create CD Build for Angular
To enable the deployment of Angular to another Linux machine, follow these steps:
Opt for a distinct configuration for deployment. This build will be triggered upon the acceptance of a merge request.

Similar to the process for the CI build, establish a new GitLab hook that will invoke the Jenkins build endpoint.

This step mirrors the procedure in CI; we must specify the globally configured NodeJSInstaller.
In this step, there's a divergence from CI; this time, there's no need to conduct testing and linting checks. The focus is solely on building the application and transferring it to another machine using SSH.

To facilitate the SSH process, as illustrated in the example, it's imperative to generate a private and public key pair for the Jenkins user on the machine where Jenkins is operational. Retain the private key on the Jenkins machine, and transfer the public key to the remote machine.
Utilizing the SCP command, copy the build to the remote machine. However, it's noteworthy that Jenkins is restricted to placing it only in the user folder. In the final step, access the remote machine via SSH and relocate the files. (In this case to /var/www/html)
Voila, the application is deployed to the production server when the merge request is accepted through Jenkins.
Angular: Karma Unit Test Runner Configuration
To execute Angular tests on Jenkins, specific sections of the karma.conf file needs configuration. The following is the setup that introduces a customized launcher for running ChromeHeadless.
module.exports = function(config) {
  config.set({
    basePath: "",
    frameworks: ["jasmine", "@angular-devkit/build-angular"],
    plugins: [
      require("karma-jasmine"),
      require("karma-chrome-launcher"),
      require("karma-jasmine-html-reporter"),
      require("karma-coverage-istanbul-reporter"),
      require("@angular-devkit/build-angular/plugins/karma")
    ],
    client: {
      clearContext: false // leave Jasmine Spec Runner output visible in browser
    },
    coverageIstanbulReporter: {
      dir: require("path").join(__dirname, "../coverage/jenkins-test-app"),
      reports: ["html", "lcovonly", "text-summary"],
      fixWebpackSourcePaths: true
    },
    reporters: ["progress", "kjhtml"],
    port: 9876,
    colors: true,
    logLevel: config.LOG_INFO,
    autoWatch: true,
    browsers: ["Chrome", "ChromeHeadless"],
    singleRun: false,
    restartOnFileChange: true,
    customLaunchers: {
      ChromeHeadless: {
        base: "Chrome",
        flags: [
          "--headless",
          "--disable-gpu",
          "--no-sandbox",
          "--remote-debugging-port=9222"
        ],

      },
    }
  });
};
We can straightforwardly save our command in the package.json scripts section.
On Jenkins, we would execute our tests using the command npm run test:ci.
"scripts": {
    "ng": "ng",
    "start": "ng serve",
    "build": "ng build",
    "test": "ng test",
    "test:ci": "ng test --browsers=ChromeHeadless --watch=false",
    "lint": "ng lint",
    "e2e": "ng e2e"
  },
I hope you found pleasure in exploring this article and that it served as a useful resource in your efforts to automate Angular deployment and testing.